Your Crystal Grid
Step by Step – Preparing your Crystal and Setting Up & Activating Your Crystal Grid
There are several pages on this website that talk about cleansing, “charging”, and setting up your crystal grid. I thought it would be nice to also have a step by step version for you. You can find explanations in greater detail on the individual steps in the other sections of this website on the menu to the left. This page is an expansion on the Getting Started with Crystal Grids in a Nutshell, if you will.
- Decide the intent or purpose of your crystal grid.
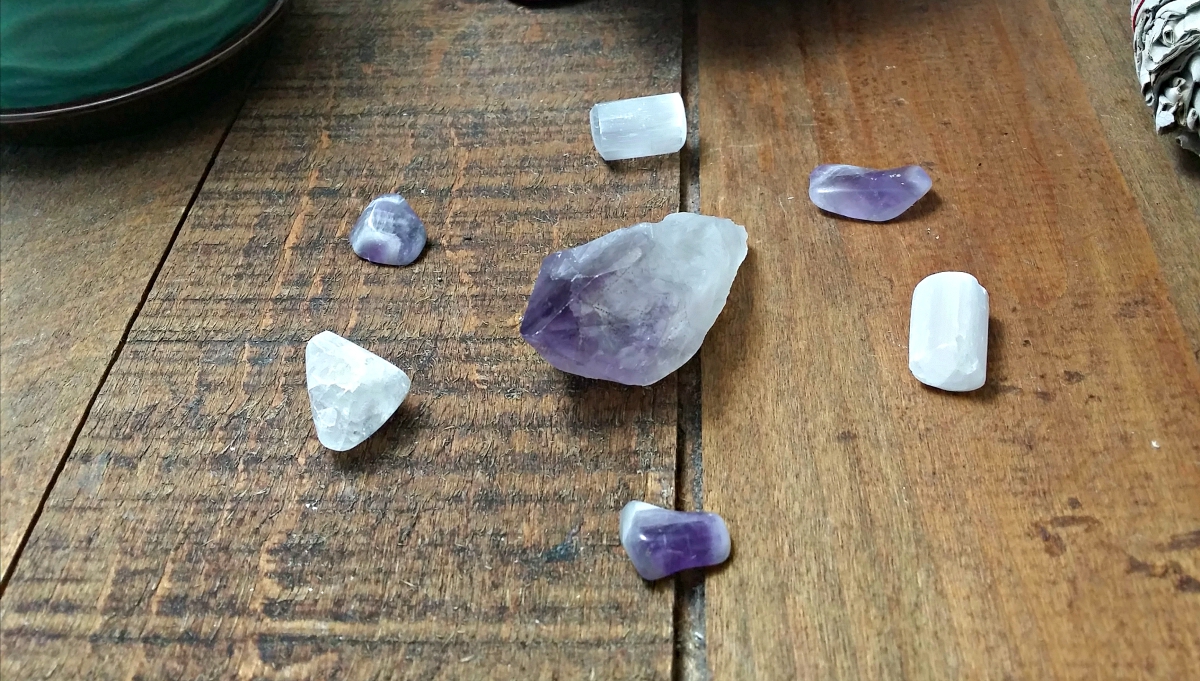
- Choose your crystals.
- The crystals can be cleansed or re-tuned to get them back to their full energy frequencies.
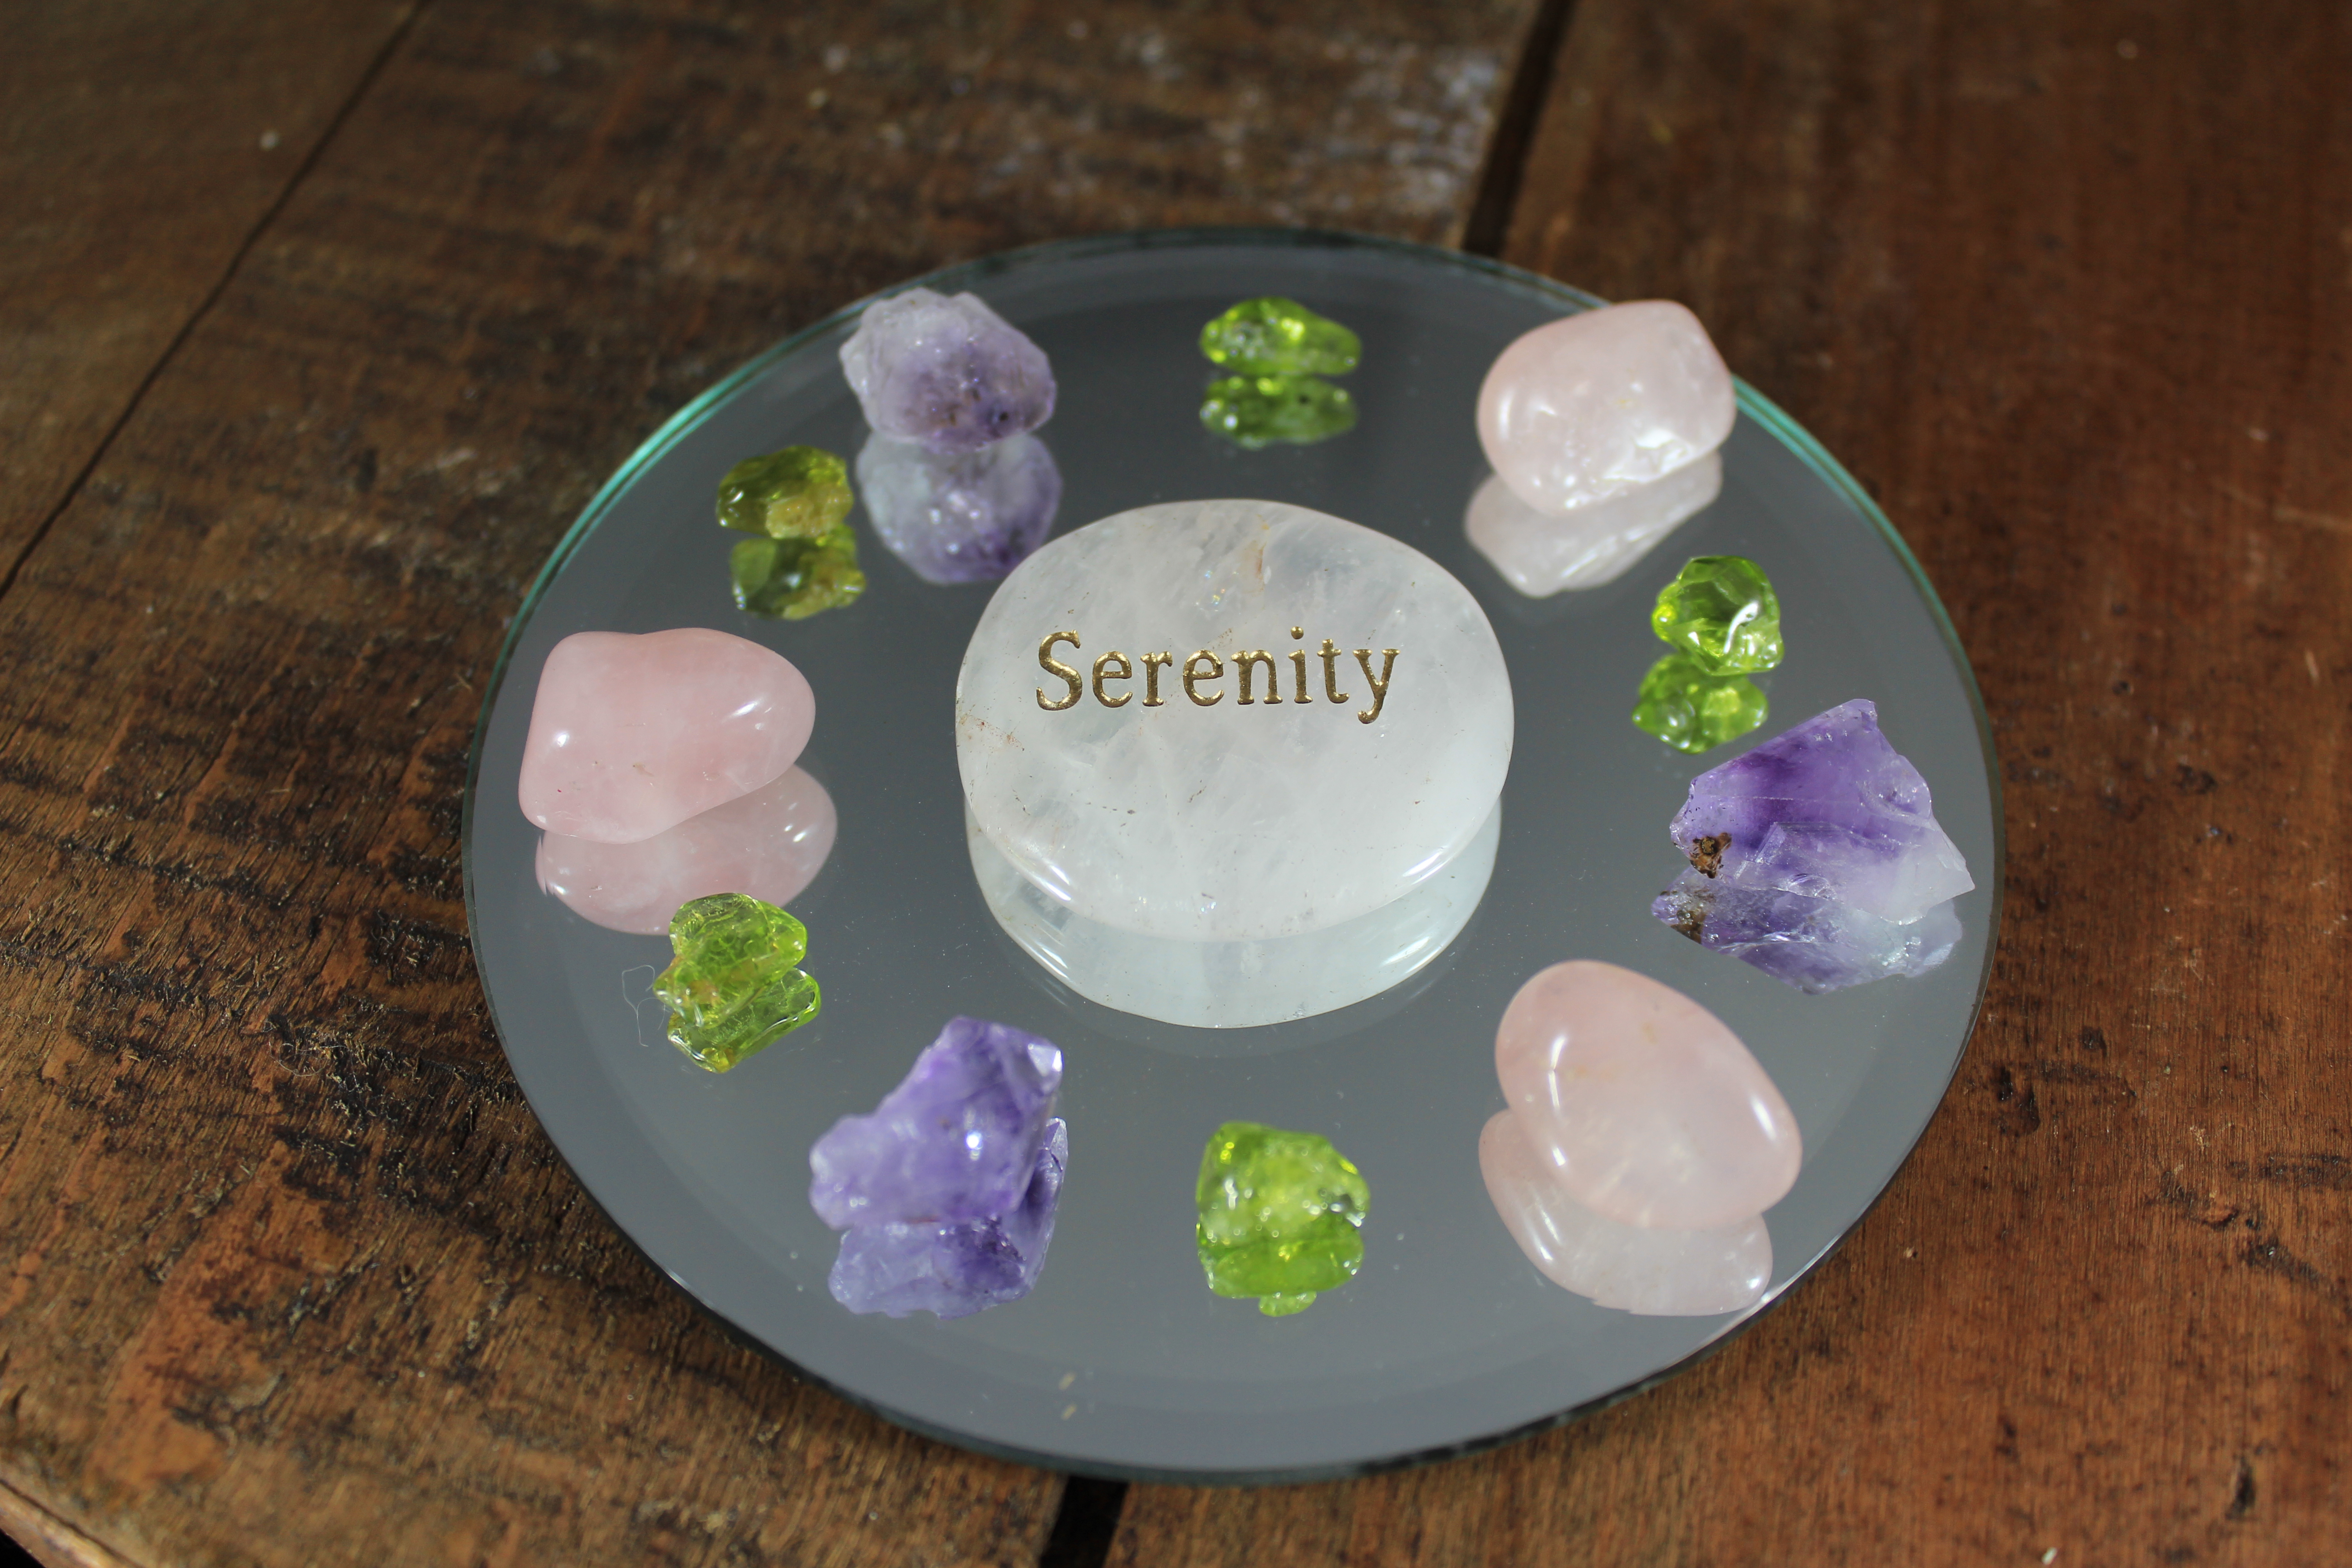
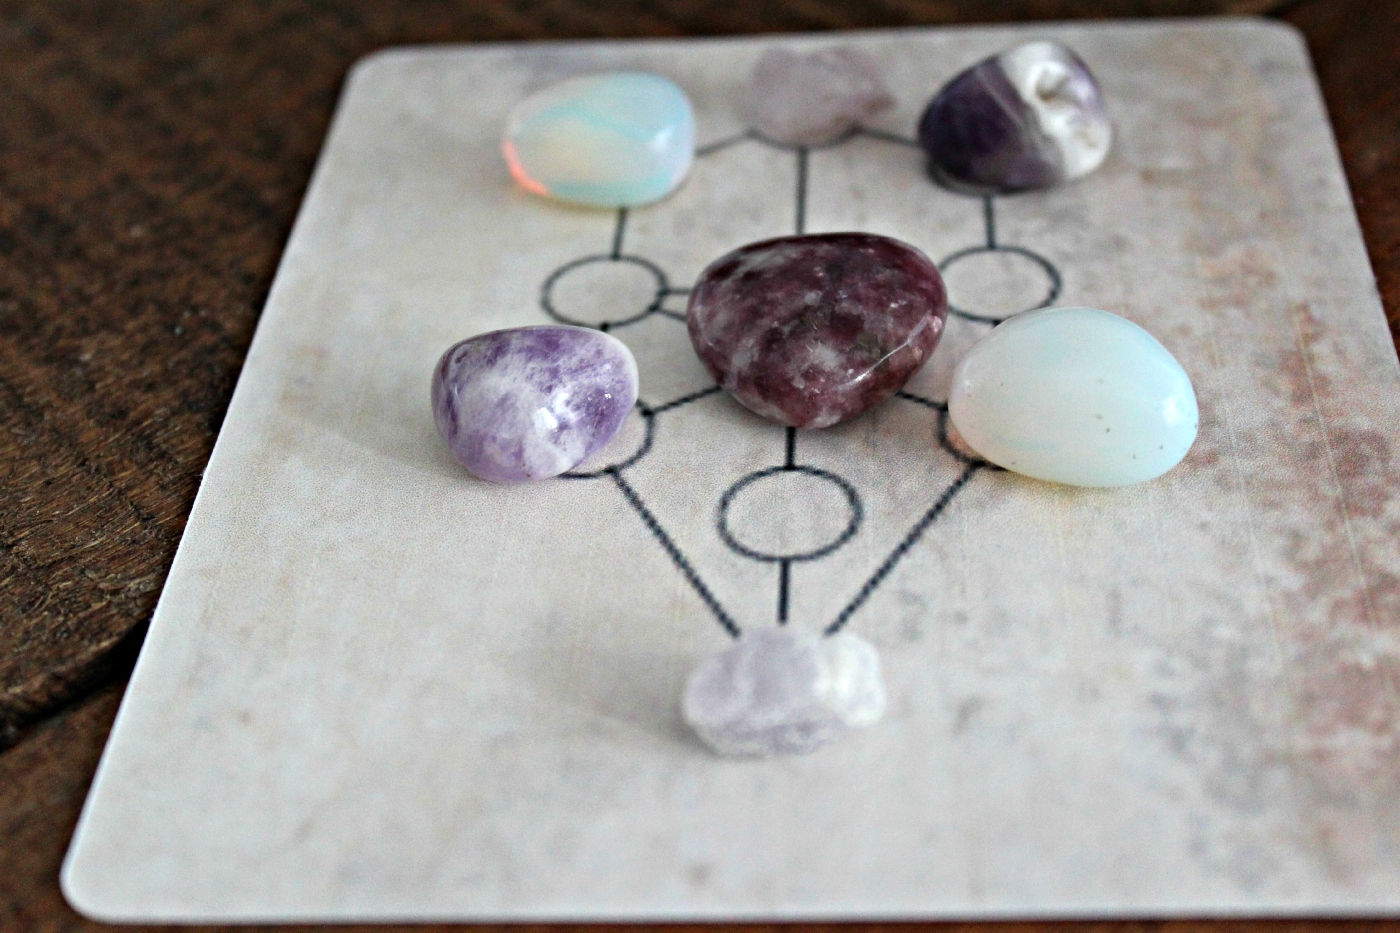
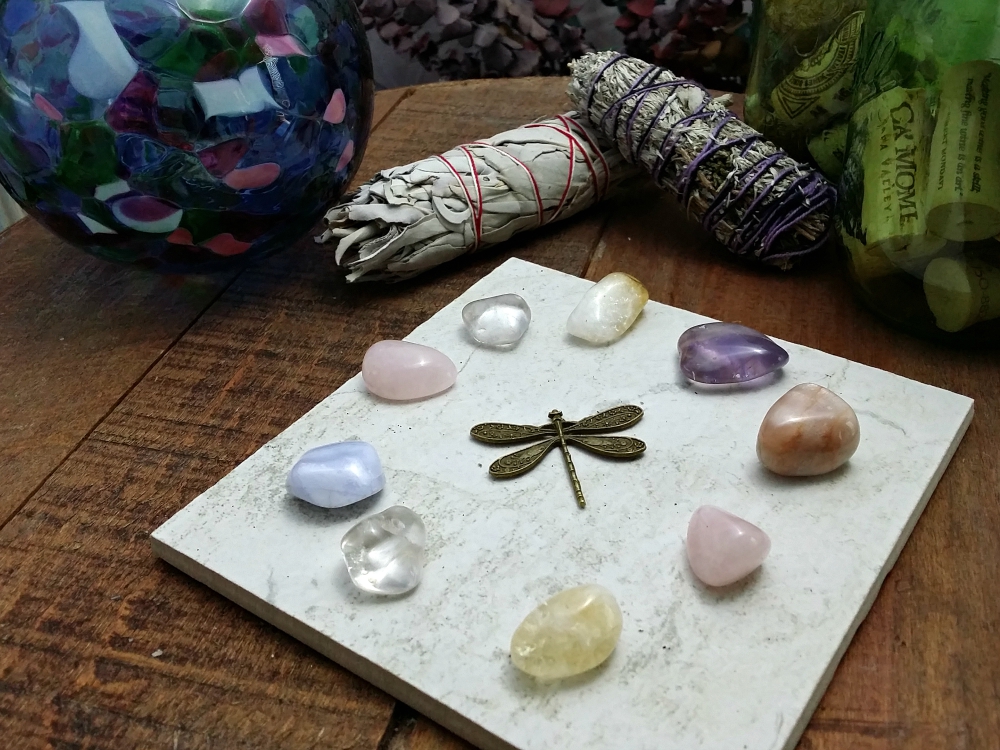

- Choose the location for your grid.
- Hold your crystals for a few moments establishing a connection with them.
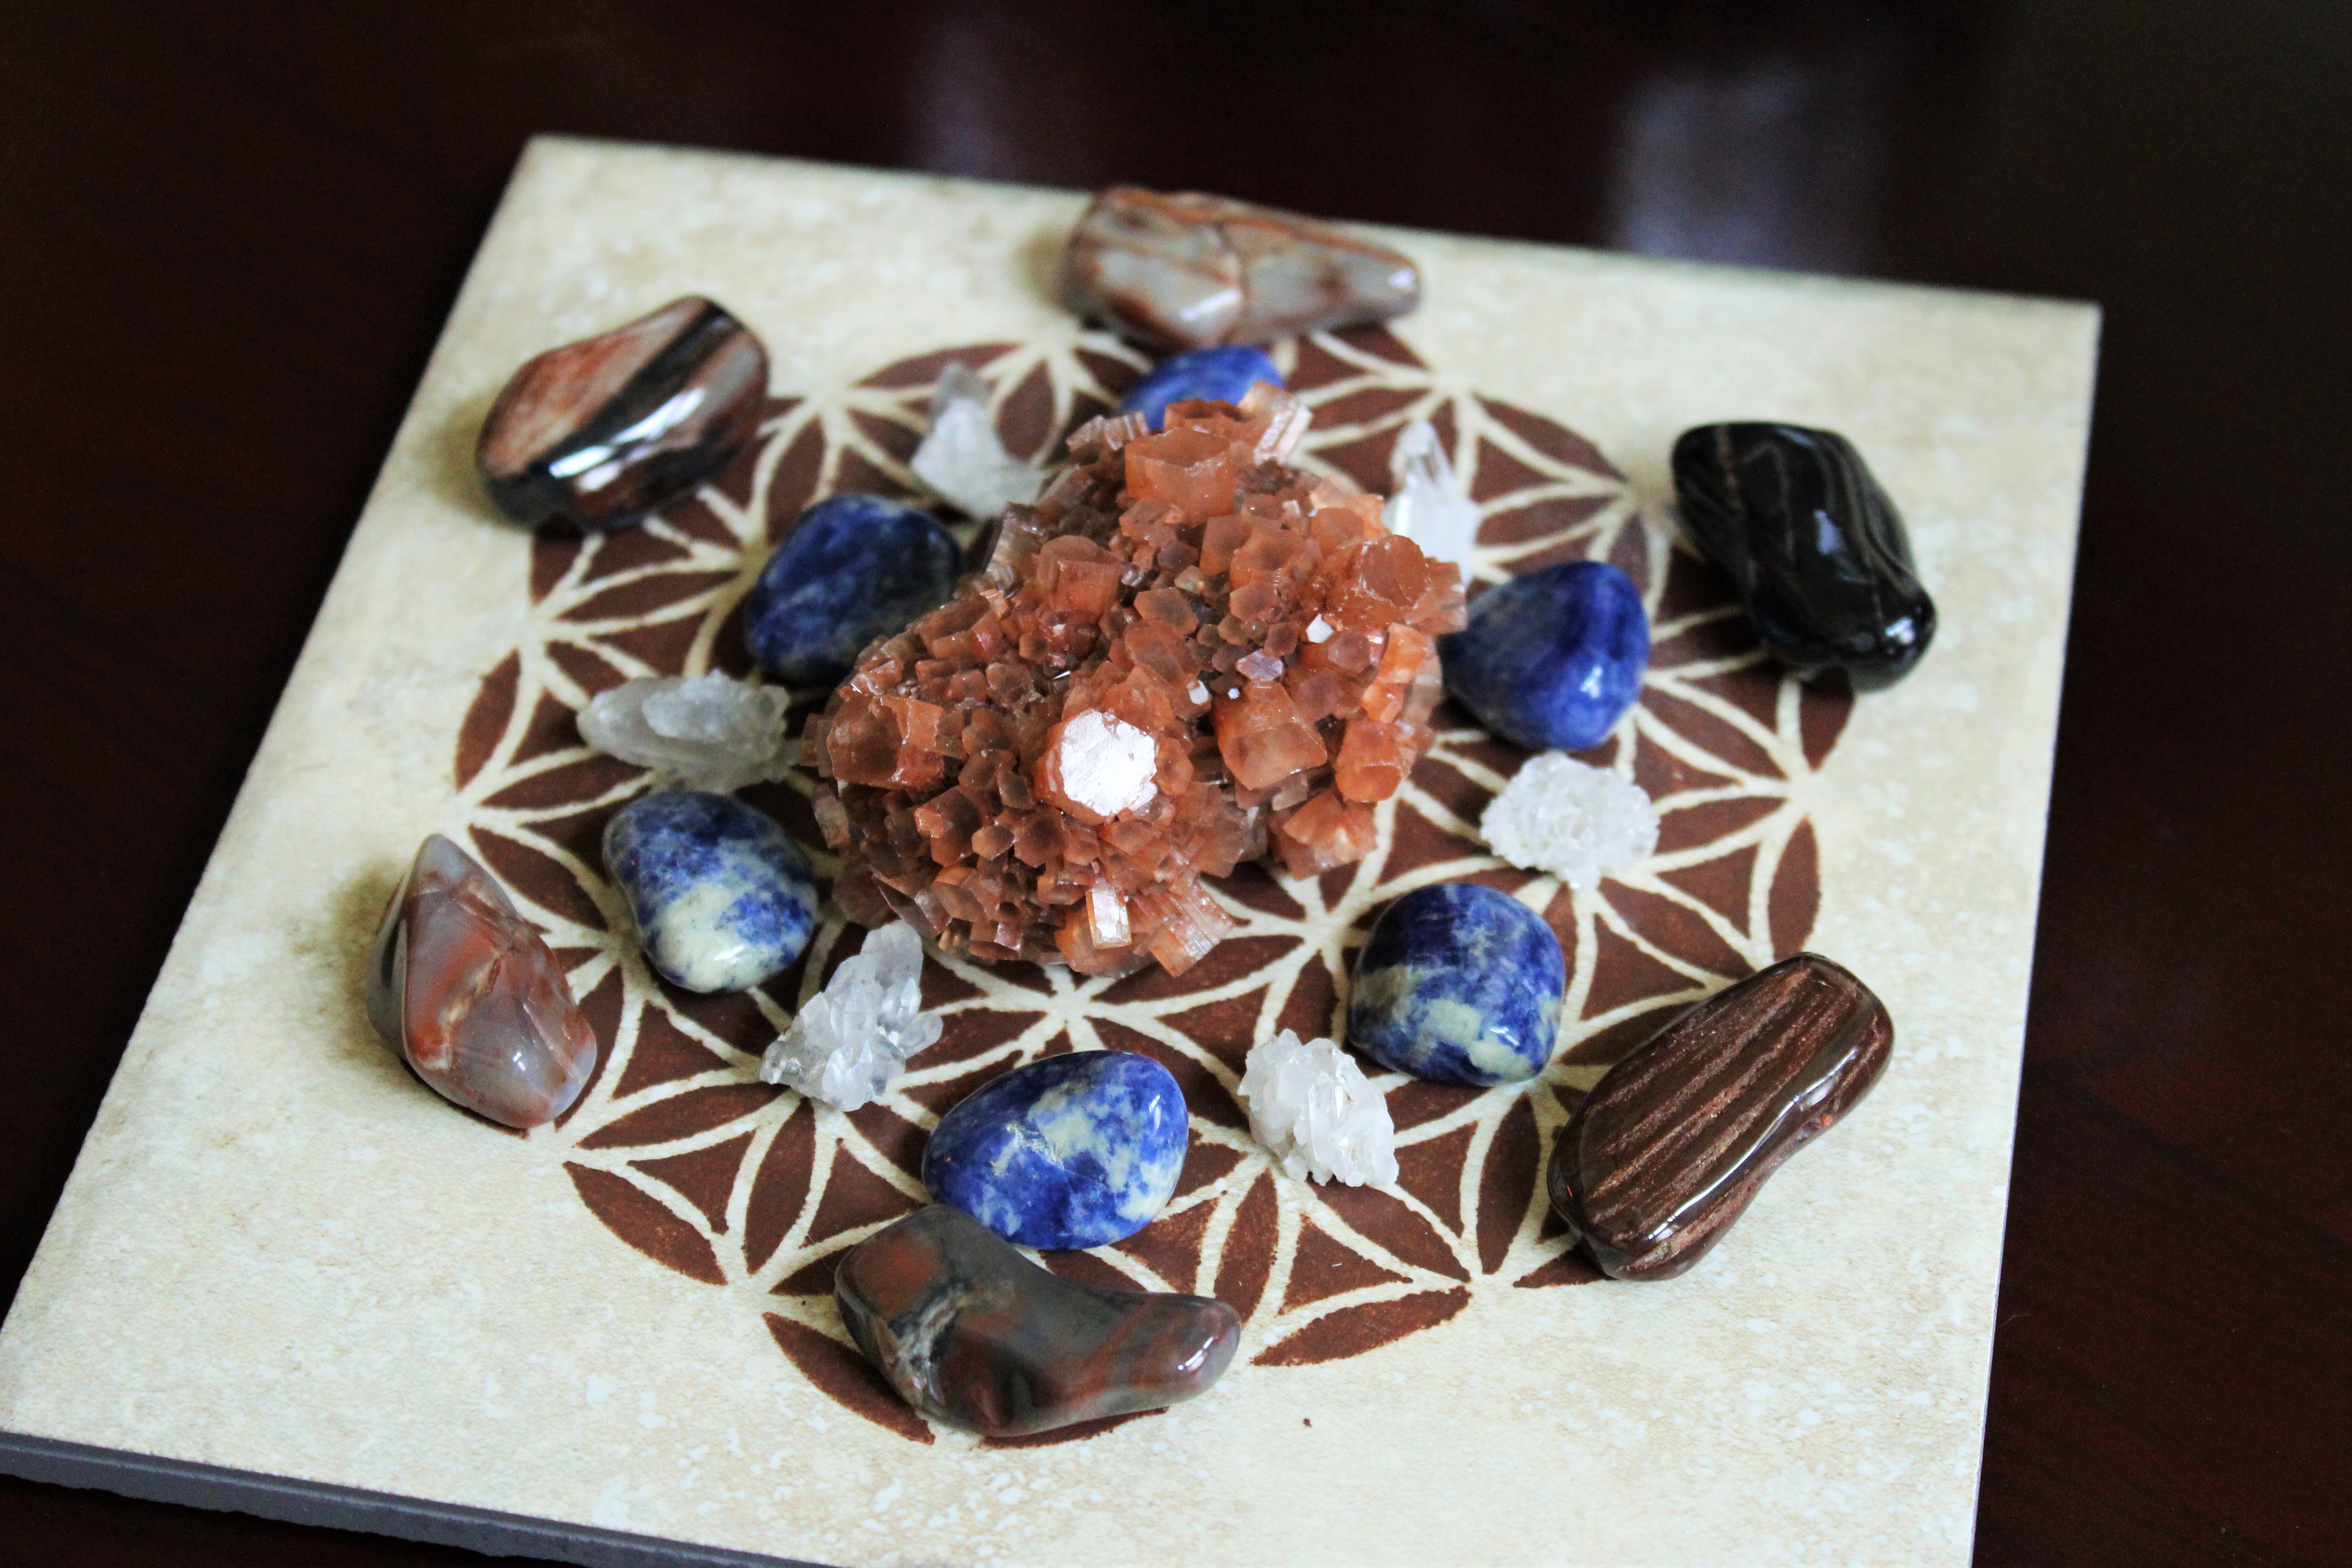
- Place your crystals in a geometric pattern.
- Either on a tabletop or dresser or other piece of furniture where they won’t be disturbed.
- Or, on a stone slab, tile, wood, fabric or other base that has meaning for you.
- Activate your crystal grid by:
- Connecting or linking the energies of the crystals by visualizing each one connecting with the other crystals in the grid, or
- Using a quartz point, trace a line starting with the center crystal outward towards the tip of each crystal, returning to the center crystal each time before moving on to the next crystal. Make sure to do this for each crystal in the grid. You should end with the center crystal. Visualize that the energies from the crystals are linking and connecting to each other.
   |
- State the intent or desired outcome of the grid, or say aloud your Affirmation.
- You can place your Affirmation under the grid, next to the grid, or carry it with you.
|

|