Today is a gorgeous day – right now it’s 73 degrees and sunny! I decided bright and early to replace the “sold” tiles in the shop (there’s nothing more disappointing that reading about something you’d like to have and then seeing that “sold out” pop up when you go to put it in your cart! I also wanted to finish up the “word tiles” that I started yesterday. But ….. the wind, although I like a nice breeze, was a little bit too breezy, so after bringing everything outside – I had to bring it all back inside!
If you’d like to know the process for creating these tiles, read on!
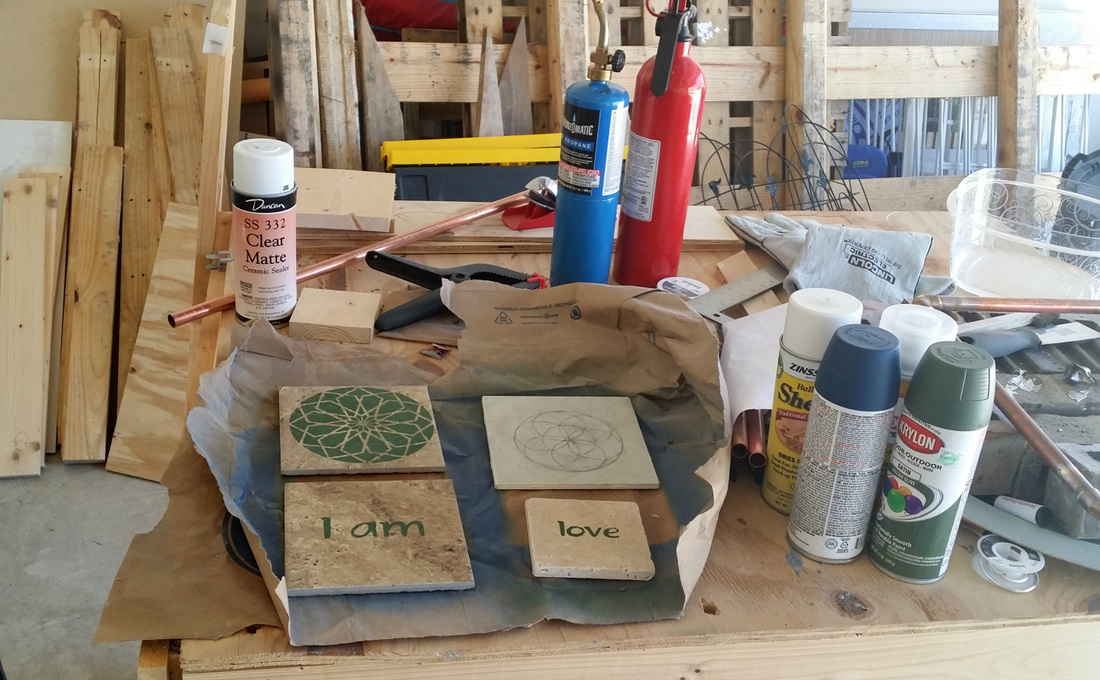
The first picture shows the second step in creating the painted tiles. These tiles have “pits” and uneven surfaces so they can be a challenge to work with. It’s worth it though, because I really like “new” things” to look natural and rustic and homey, and I love the look of these tiles. I usually start with a stencil and apply the paint (after preparing the surface of the tile to make sure its clean). After the paint is dry, I decide if we need to repaint, touch up, or go to the next step.
I remove the stencil and then there is usually (ok, ALWAYS) lots of touch up due to the uneven surface of the tiles. I take a teeny tiny paintbrush, a wooden stick, or sometimes even a broken paperclip to fill in the surfaces and add paint where I think it needs it. Once that is dry, I take a wooden stick with some damp cotton wrapped around it and do the “clean up” phase to remove any paint from places I don’t want it. And sometimes, I remove portions of the image and just repaint by hand.
Once, all this is done, and the paint is completely dry, I apply the first of 4 to 5 coats of sealer. If the bottom of the tile needs painting also I’ll do that and then when I am happy with the tile I affix little felt or foam “feet” to the bottom of the tiles to protect tabletops and furniture.
Some of the “word” tiles have raised lettering. I take letters I have cut out on cardstock and affix them to the surface of the tiles and then add several coats of sealer. Sometimes I add a little glitter to give them some sparkle!
I hope you like them!
PS: I am super proud of my husband for building me that work table in the garage in just a few hours (although I suspect it was the excitement of having to buy more saws or tools, or whatever it was he needed at Home Depot in order to do it). It’s been a lifesaver for these windy days we have when I can’t work outside!